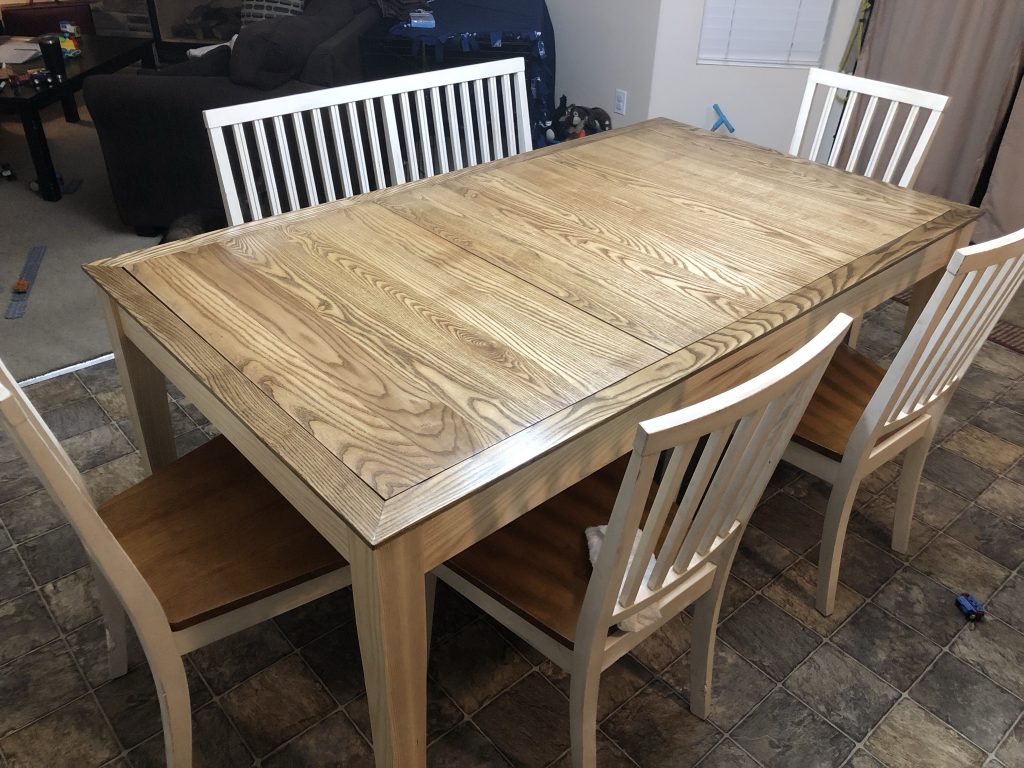
You may call me a nerd, a geek, or maybe even old fashioned, but I love playing board games. As my love for game started to increase, I started to notice a few things that started to bother me:
- As I started having kids, there was the issue of tiny little arms and hands reaching up onto the table and grabbing anything they could grab onto.
- Cards have a certain knack of getting suctioned to the table, resulting in you either using fingernails to pry a card off the table and banging up the edges of the card, or sliding the card across the table until it reaches the edge, grabbing onto every bit of dust and leftover food on the way over, scratching the face of the card.
- Rolling dice on a wooden dining table is both highly unpredictable and loud. When kids came into the picture, the sound of dice hitting the table was akin to setting off a cannon while a kid was trying to nap or was down for the night.
- I’m not able to stay up as late as I used to. This meant that we either had to pack up a game early, or leave the game out to pick up at a later time. Since our dining table was used for pretty standard things, like eating, that meant that we really couldn’t leave a game out. Plus, with kids, there was no hope that the game would remain untouched and undisturbed until the next game night came around.
So, yes, these are all probably things that most people aren’t going to be worried about. But the fact remains, these were things that I was worrying about. I started to think about different things I could do to solve my problems. I thought of everything from octagonal poker tables to bar-height tables. I found several online stores that were selling dedicated gaming tables for several thousands of dollars. Things just weren’t panning out. Was I going to have to give up my passion for games? That’s when I ran across a blog post on geekdad.com that provided the musings of someone in a similar situation and ended up building their own table. This inspired me to go out on a huge limb and try making my own table.
I took inspiration from the geekdad.com table and created my own table. I had a few goals in mind when making the table:
- Since this was going to double as a dining table, I didn’t want it to look like a game table.
- I wanted the table to last a long time, so it was going to have to be made out of hard wood.
- The game surface needed to be replaceable.
- The “vault” needed to be deep enough to keep most games set up with the inserts on.
I decided to make the table with Ash. Not only was it a durable wood, but it took stain well, and was cheap… well, at least as far as hardwood goes. Since I was buying hardwood, that meant I had to go get the wood from a special lumber dealer.
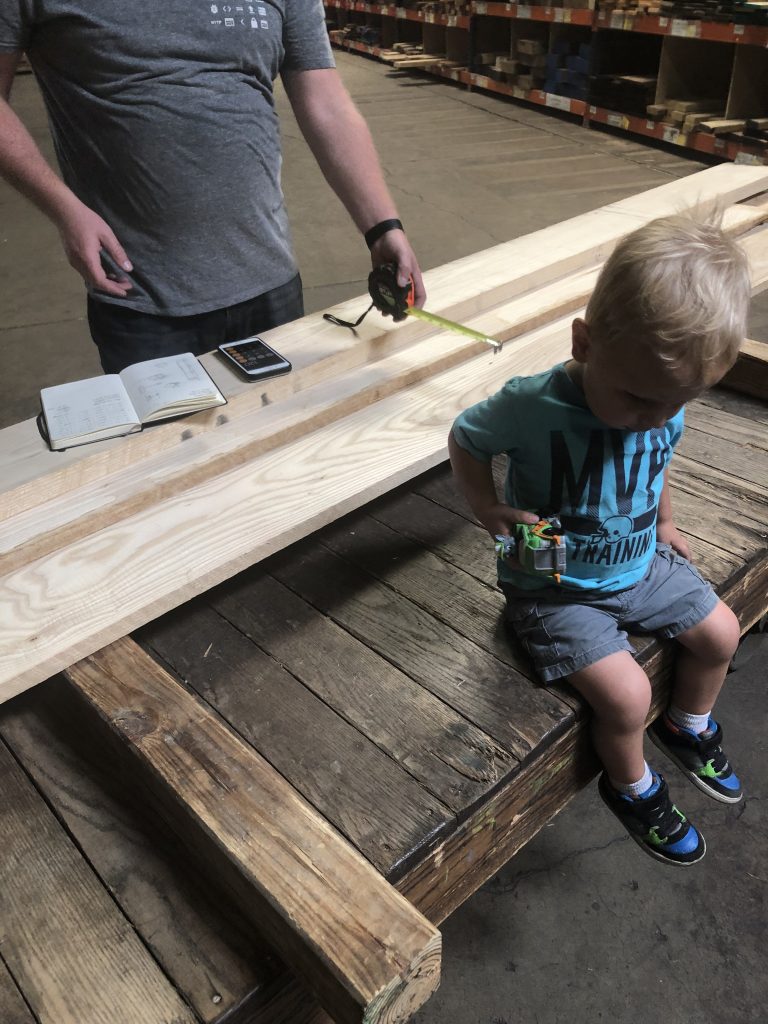
Because I was buying rough sawn wood, that the wood was not dimensional, so no 2-by-4’s, or 2-by-8’s. This wood is sold by the board foot and can be anywhere from 4 to 12 inches wide and 4 and 12 feet long. The only common dimension was that each plank of wood was either 1 inch or 1.5 inches thick. Careful planning went into knowing what pieces were going to come from each plank of wood so I didn’t have a lot of waste, and so I didn’t have to go back and buy more wood.
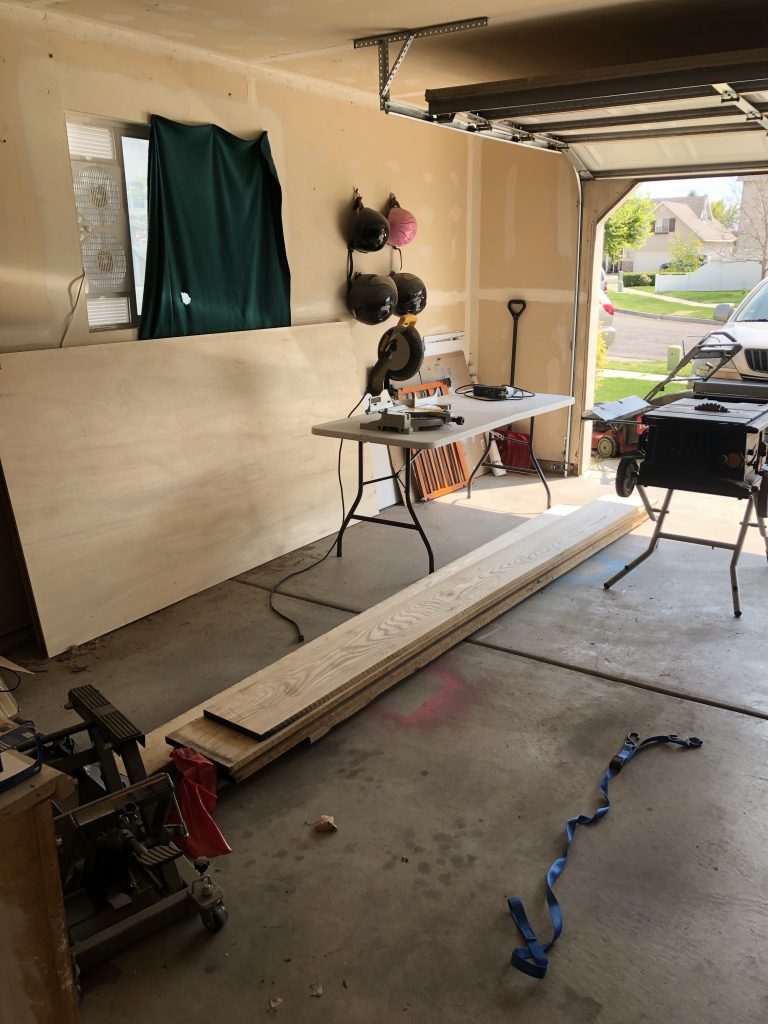
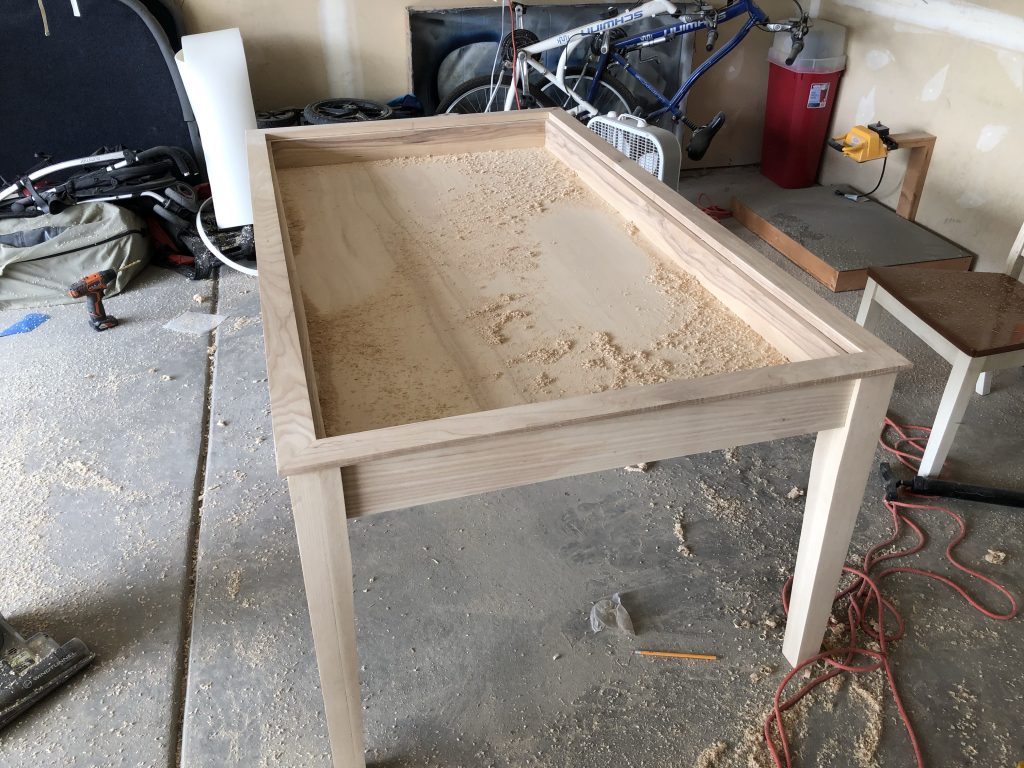
I started off with the vault. Which ended up being 6 1/2 feet long by 3 feet wide.
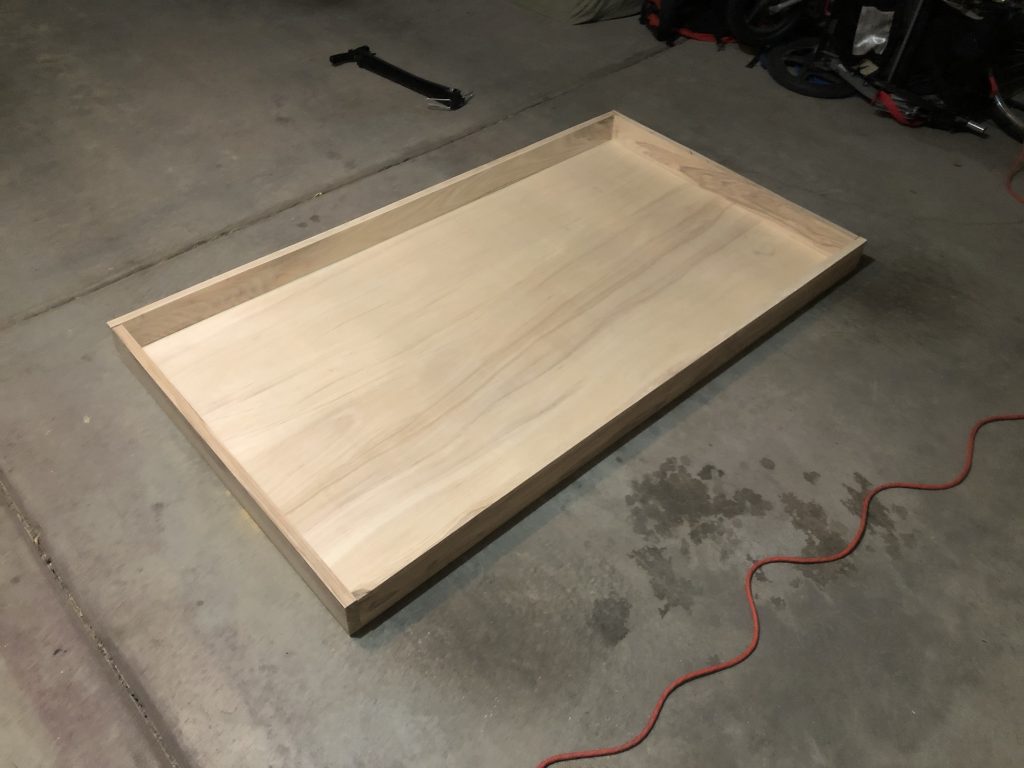
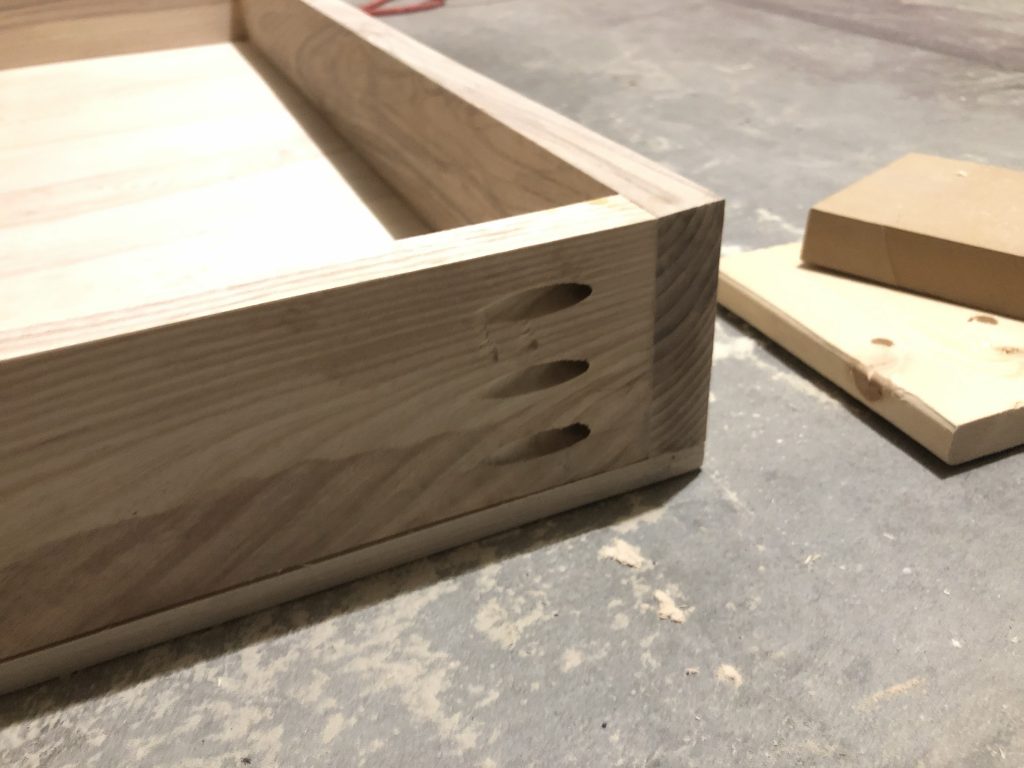
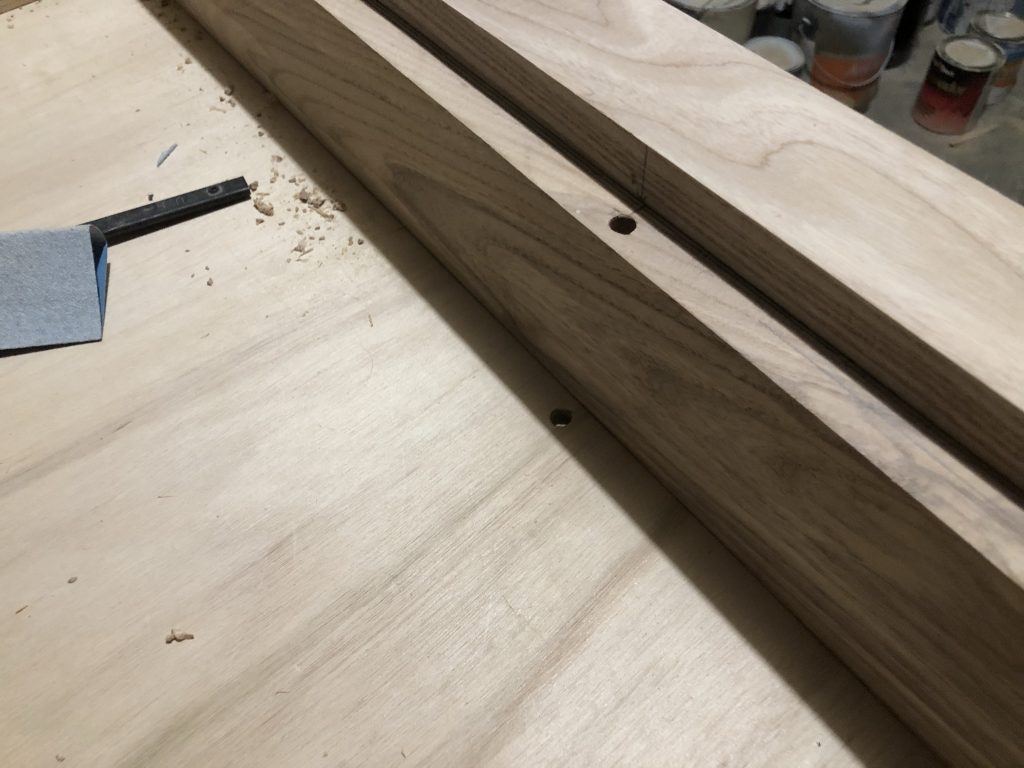
I didn’t want to have any visible screws, so I chose to use pocket screws. For the vault, the pocket screws would be on the outside. The outside skirt would eventually cover those up.
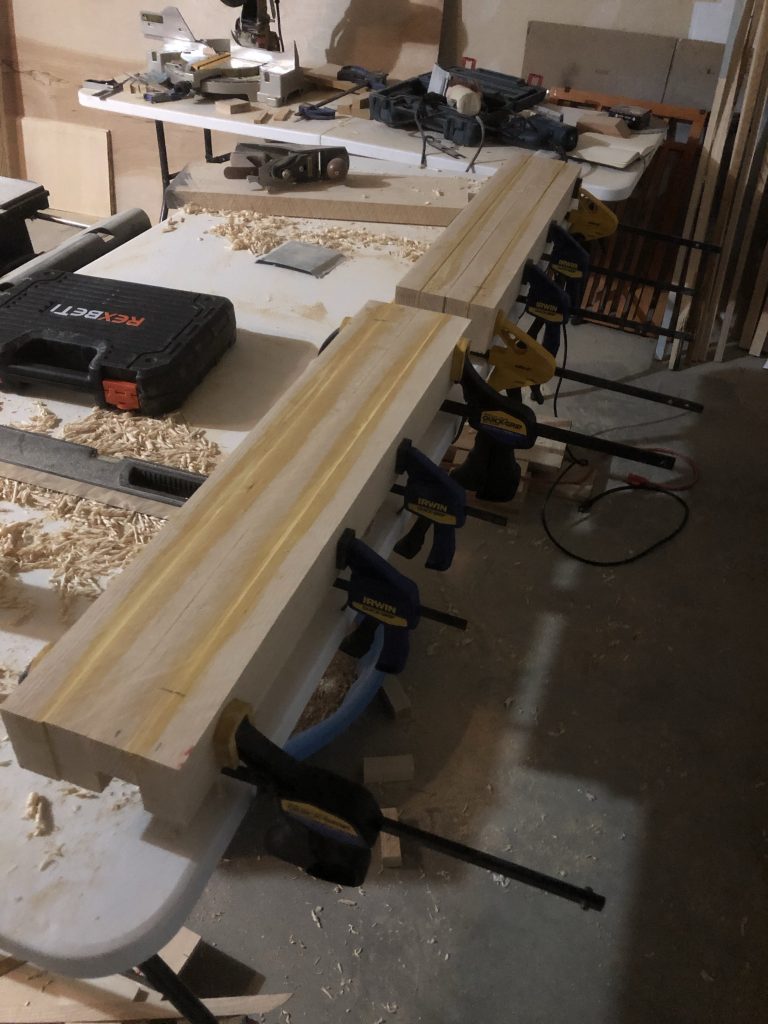
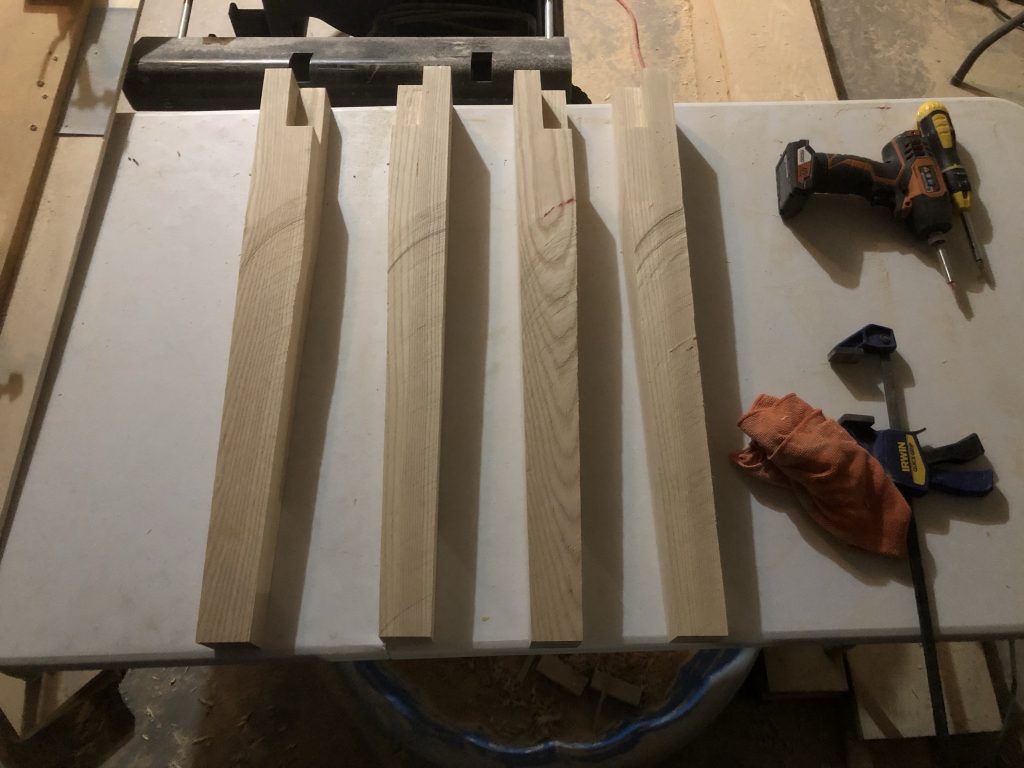
Next, I glued two 1.5 inch pieces of wood together to make a 3-inch by 3-inch leg, which would then be tapered using a table saw jig that I put together.
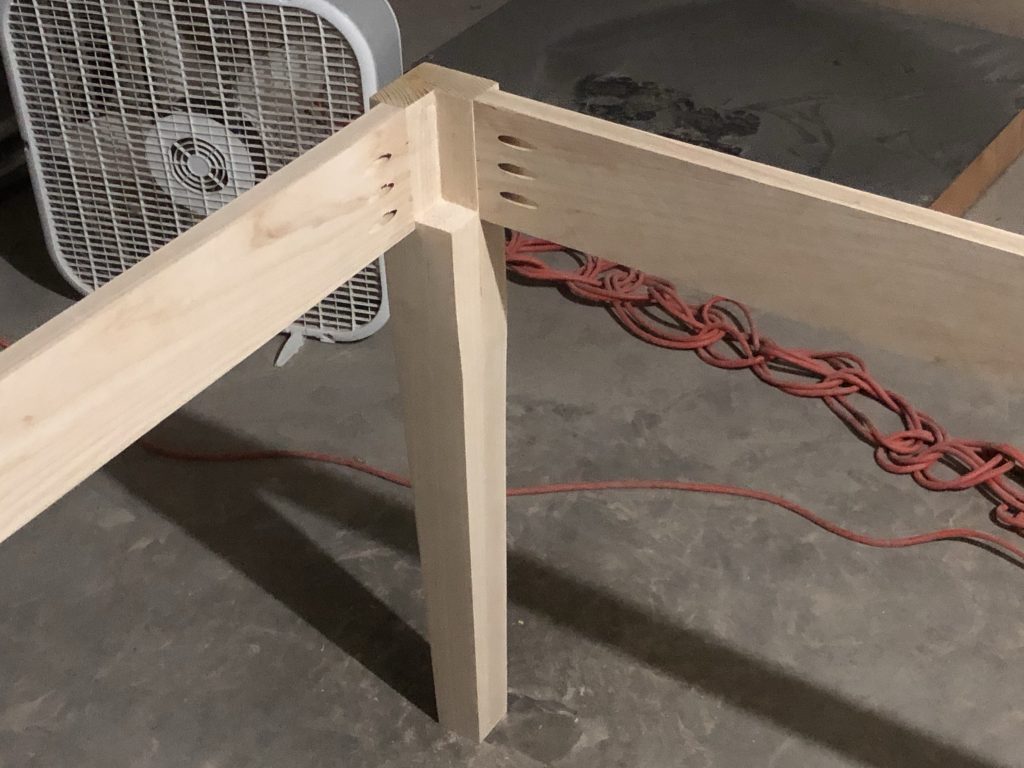
The skirts were attached to the legs with pocket screws on the inside.
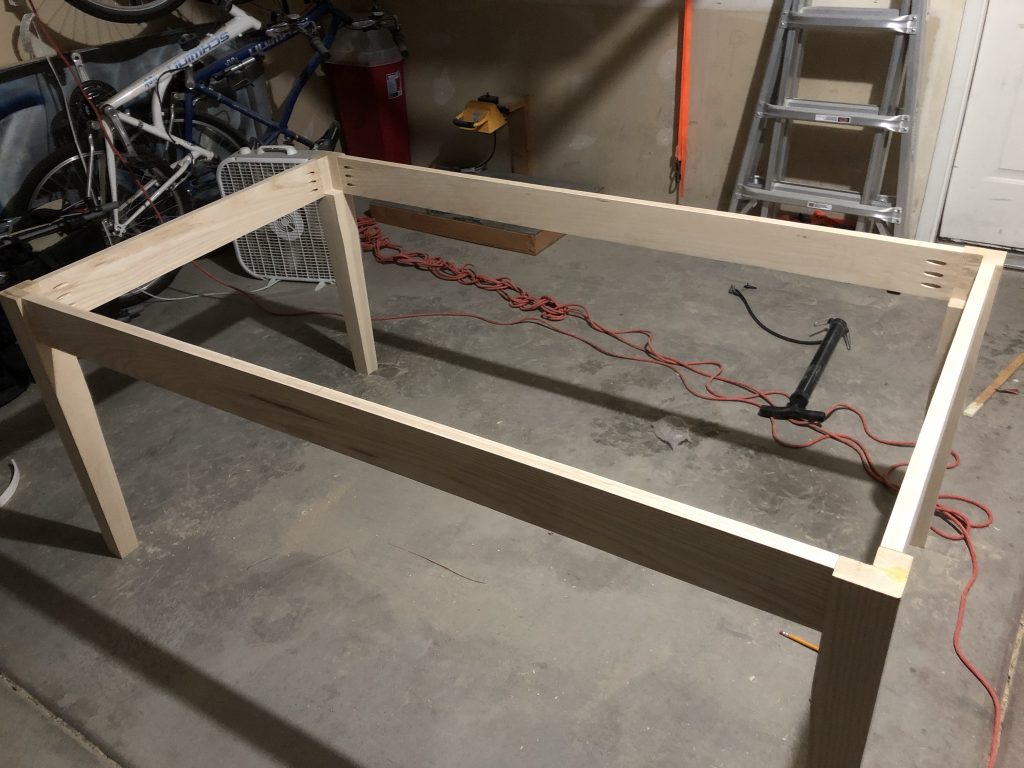
The vault was then dropped into the middle the table.
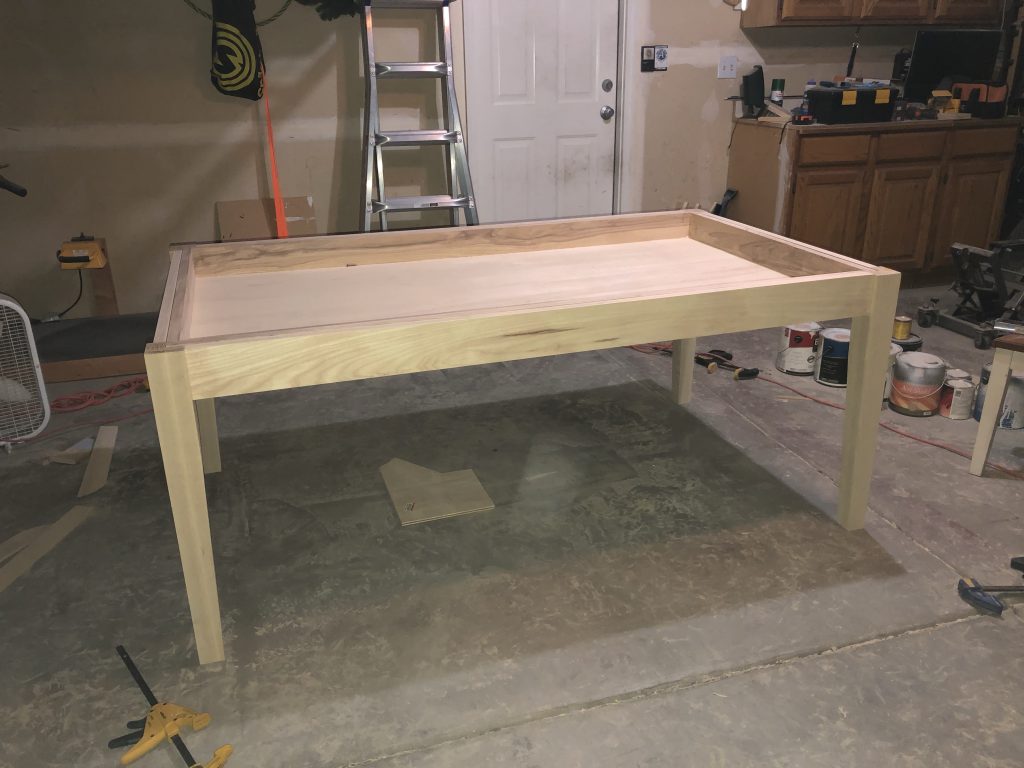
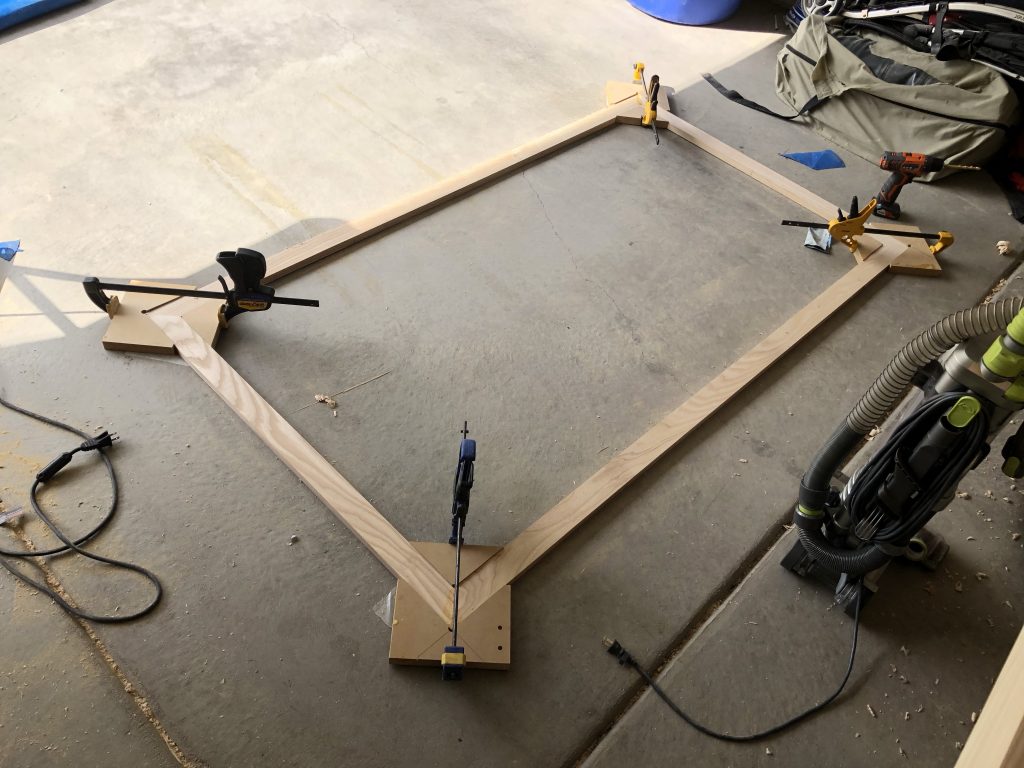
The border of the table top was put together and the edges routed for a nice bevel.
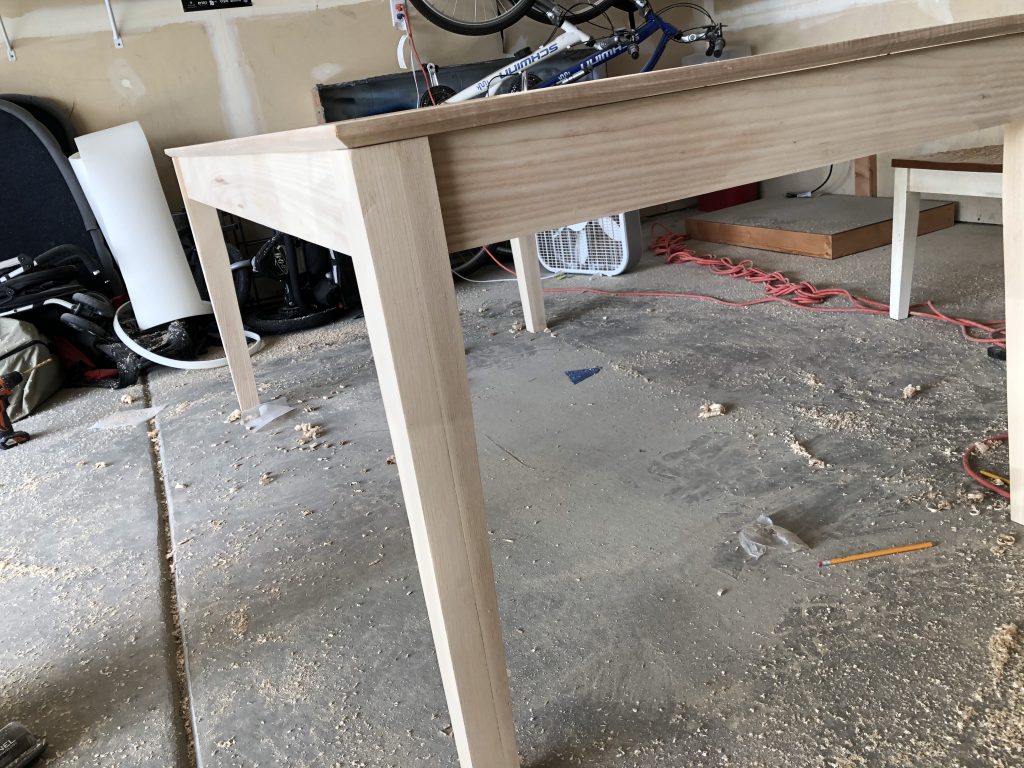
The table top edge was glued to the skirt and the legs, leaving a small ledge for the inserts to lay on later.
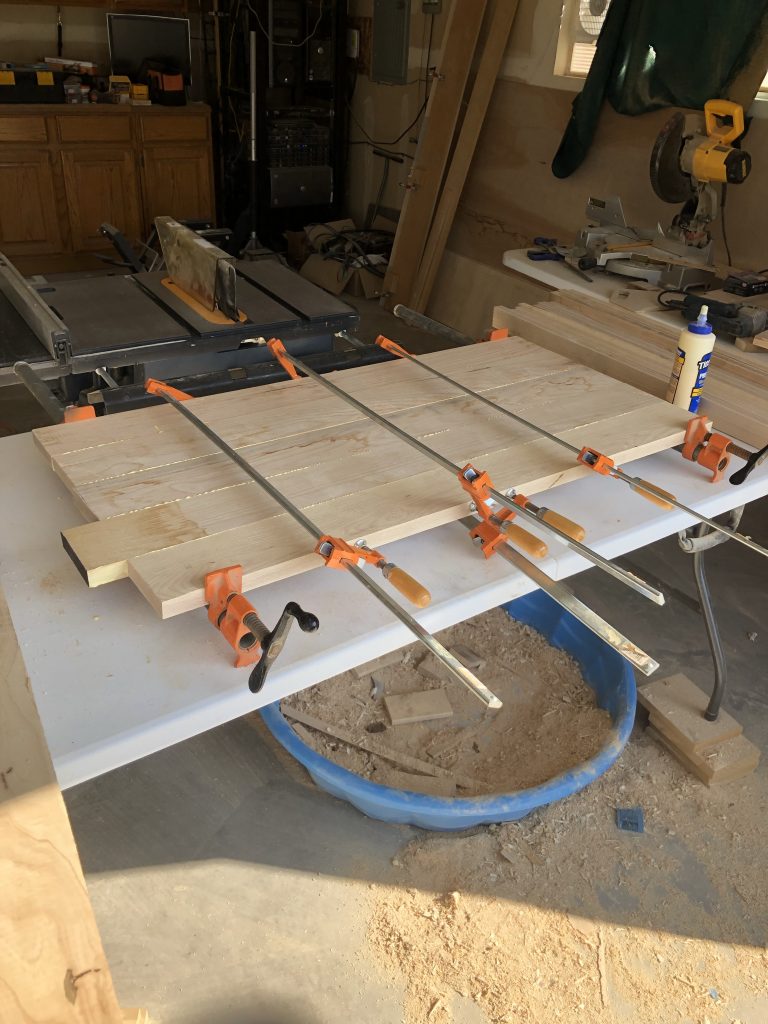
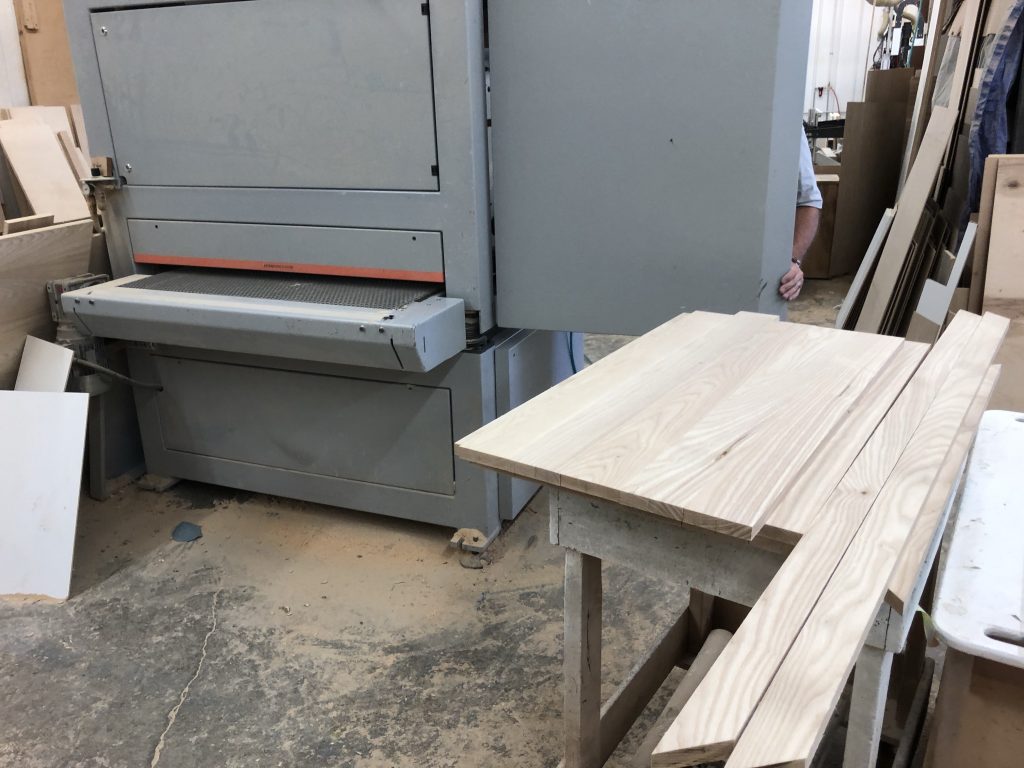
The inserts were then glue together. In order to make sure that the top was flat and uniform, I contacted a local cabinetry shop and was able to rent their wide material sander to sand the tops to a uniform width. The inserts were then cut to the right length to fit in the frame of the table.
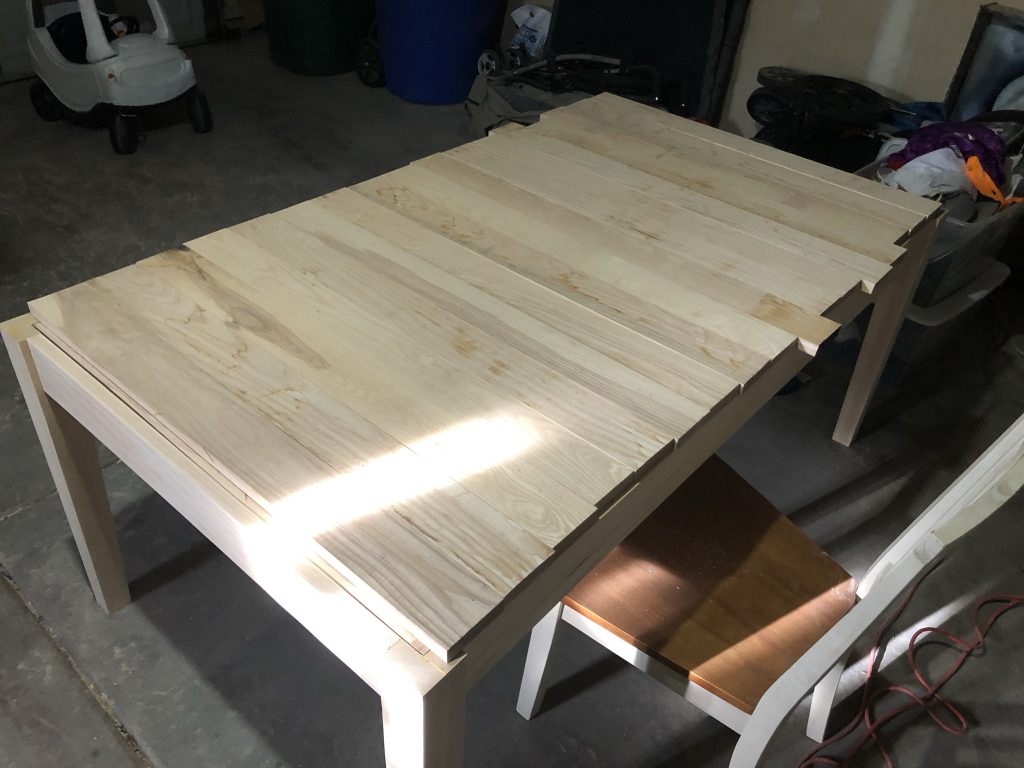
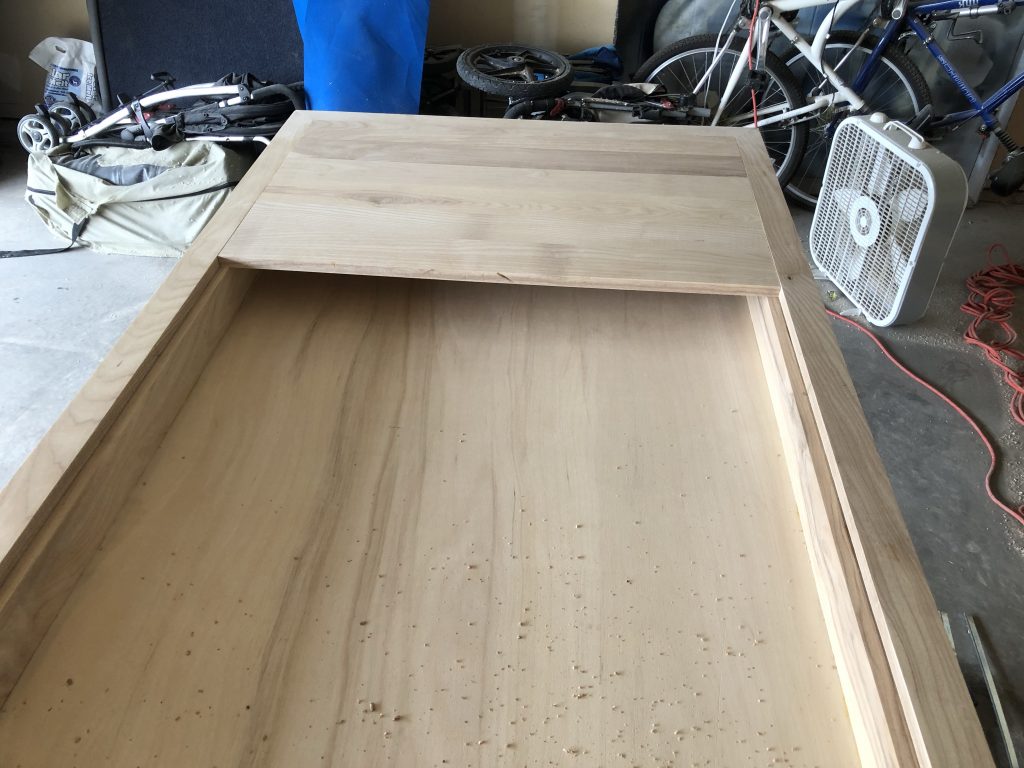
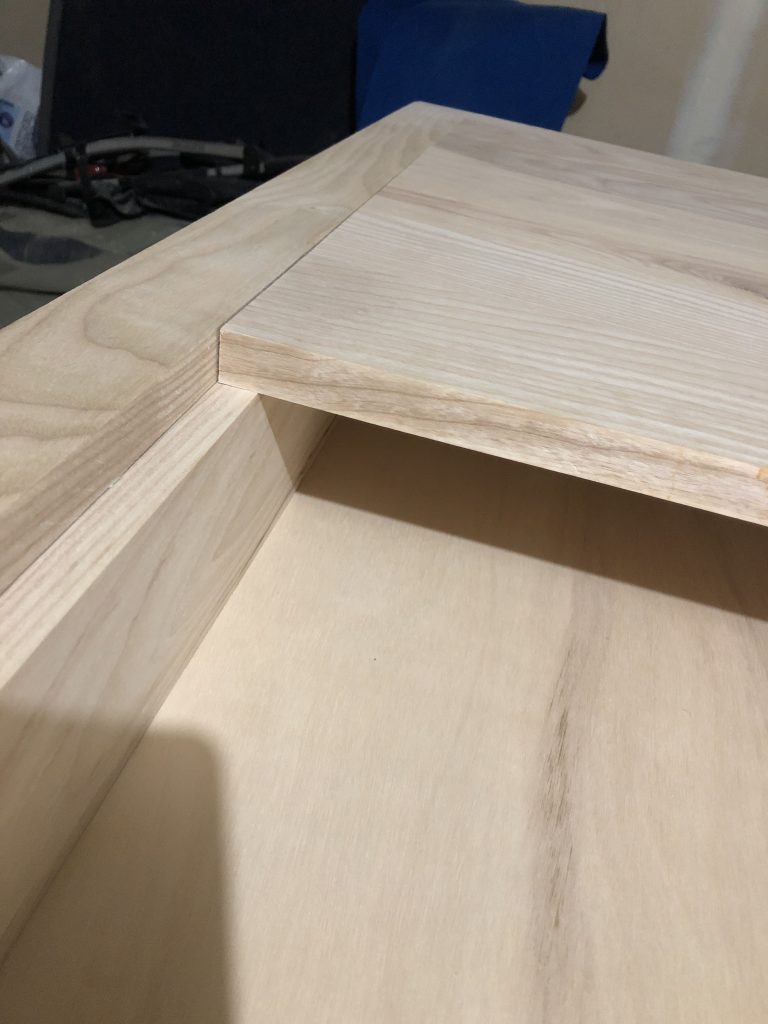
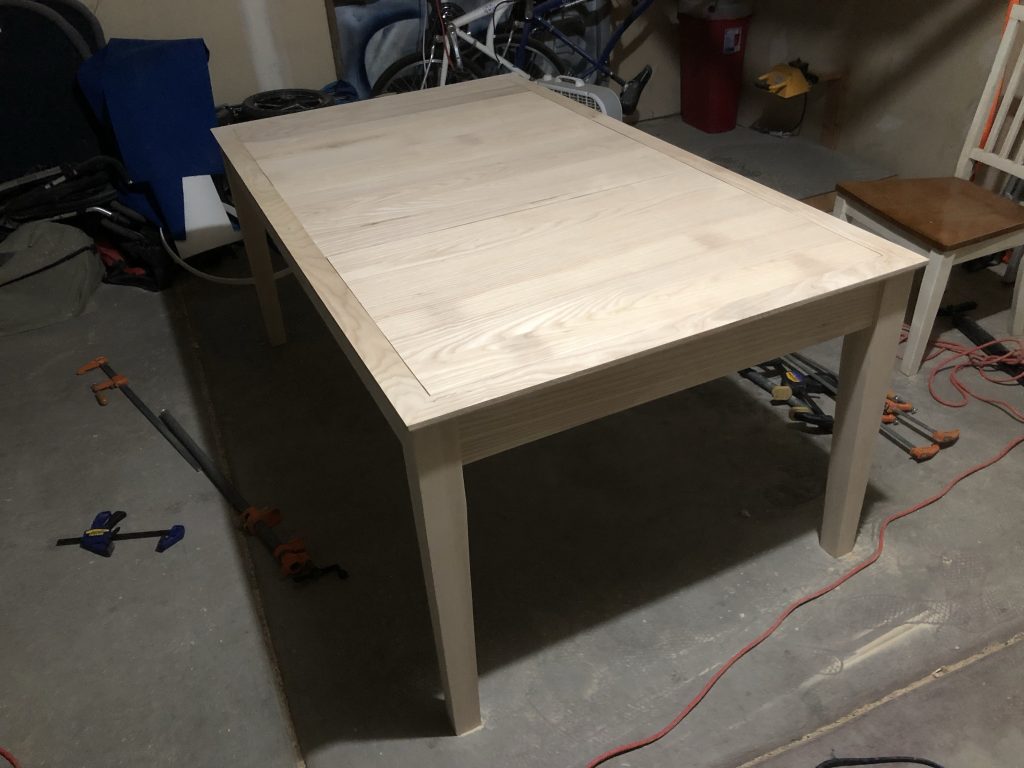
In order to get the inserts out, a hole was drilled in the frame of the vault, wide enough for a pencil to be inserted and lift up the insert. Another hole was drilled in the bottom of the vault to be able to remove the gaming surface if needed.
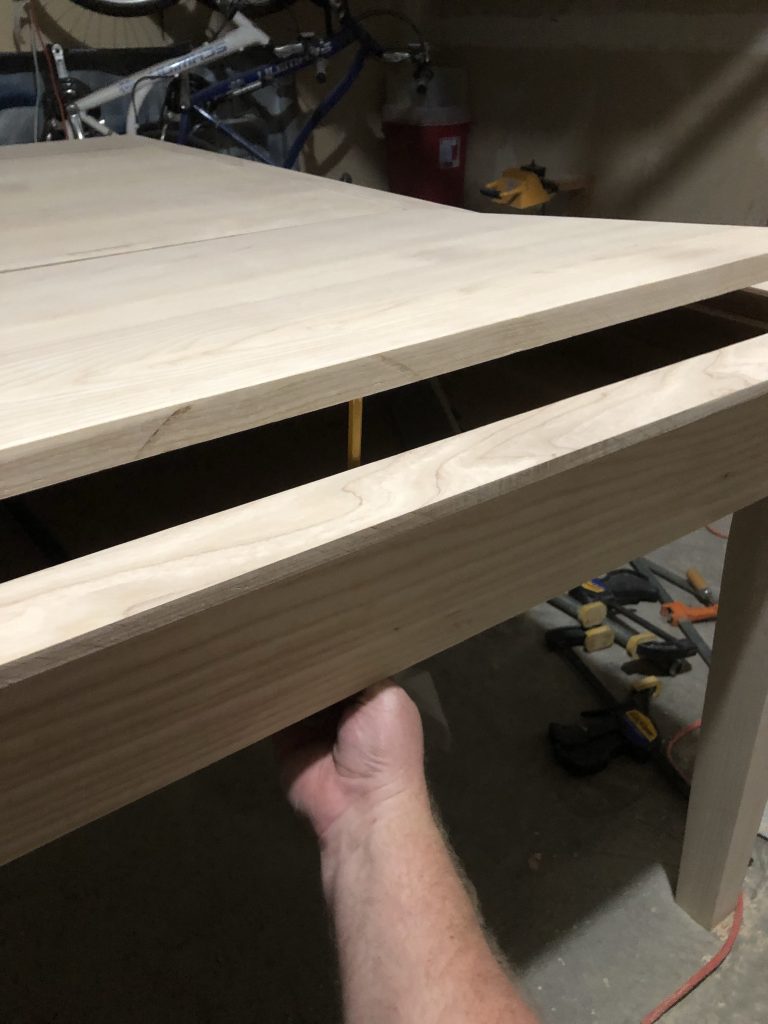
The table was sanded, stained, and sealed. We liked the two-toned look of our other table, and I didn’t want to lose the natural beauty of the white ash, so the top was stained, but the vault, skirt, and legs were not.
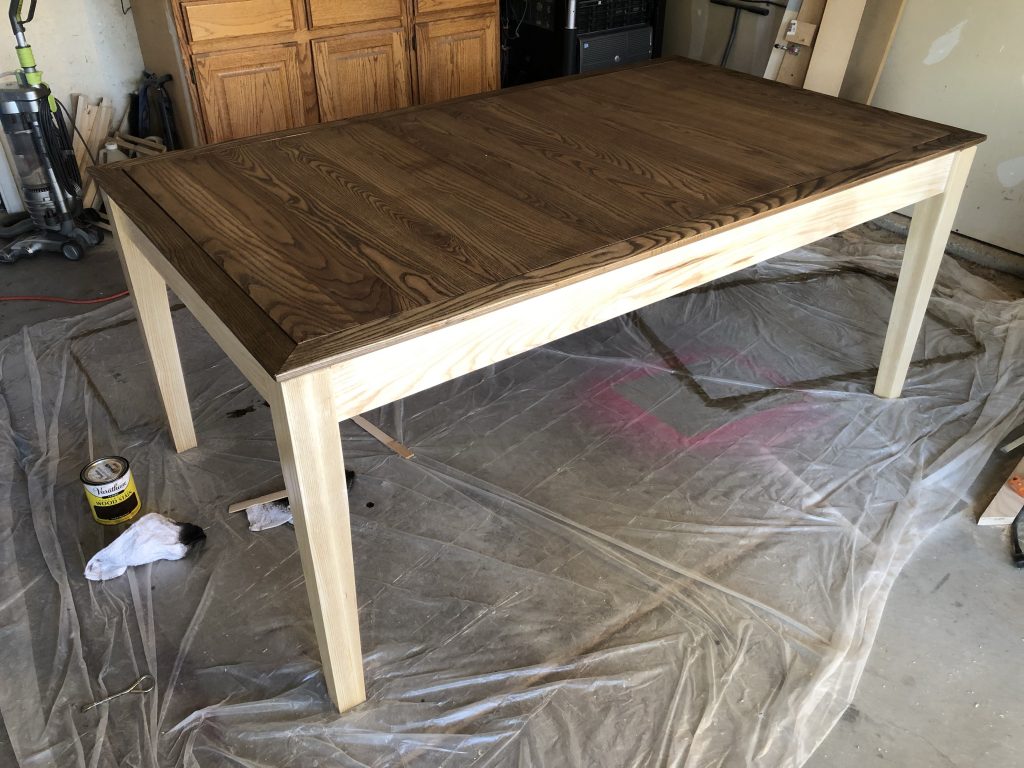
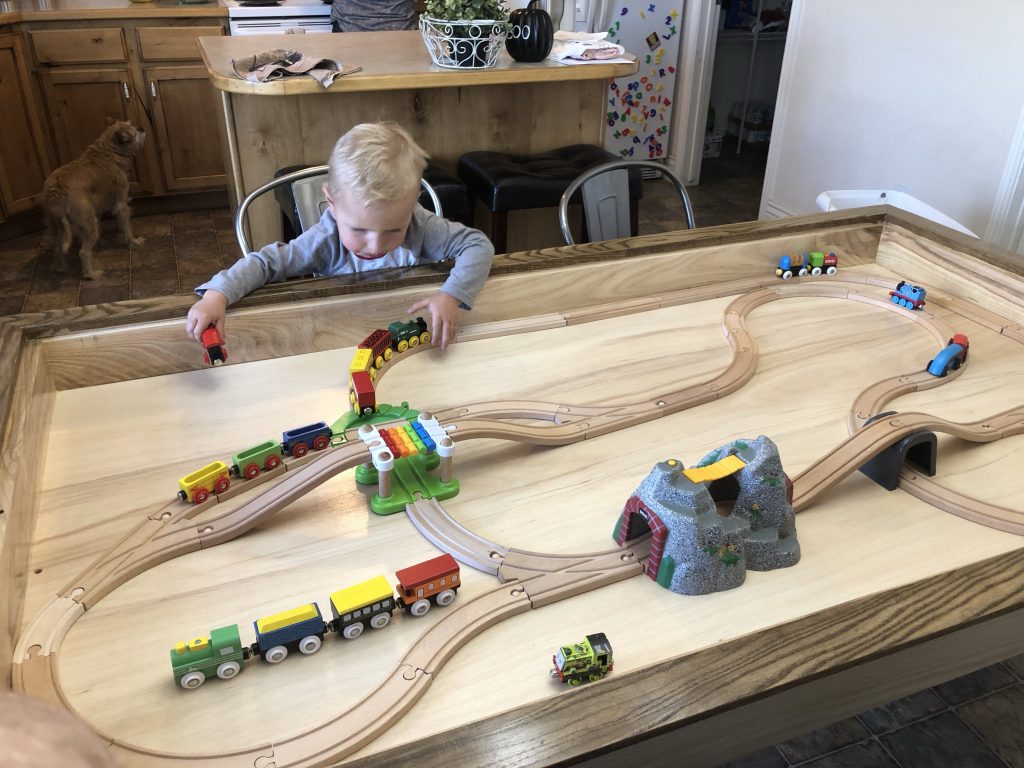
I went ahead and sealed the bottom of the vault so it could be used for other activities, such as playing with a wooden train set.
The gaming surface with made using a 1/8th inch sheet of plywood, a 1/8 inch sheet of rubber foam used in poker tables, and then covered with poker speed cloth. The foam and speed cloth make the game surface waterproof in case a drink spills either directly on the game surface or on the table top and it leaks through, so it won’t stain or get ruined.
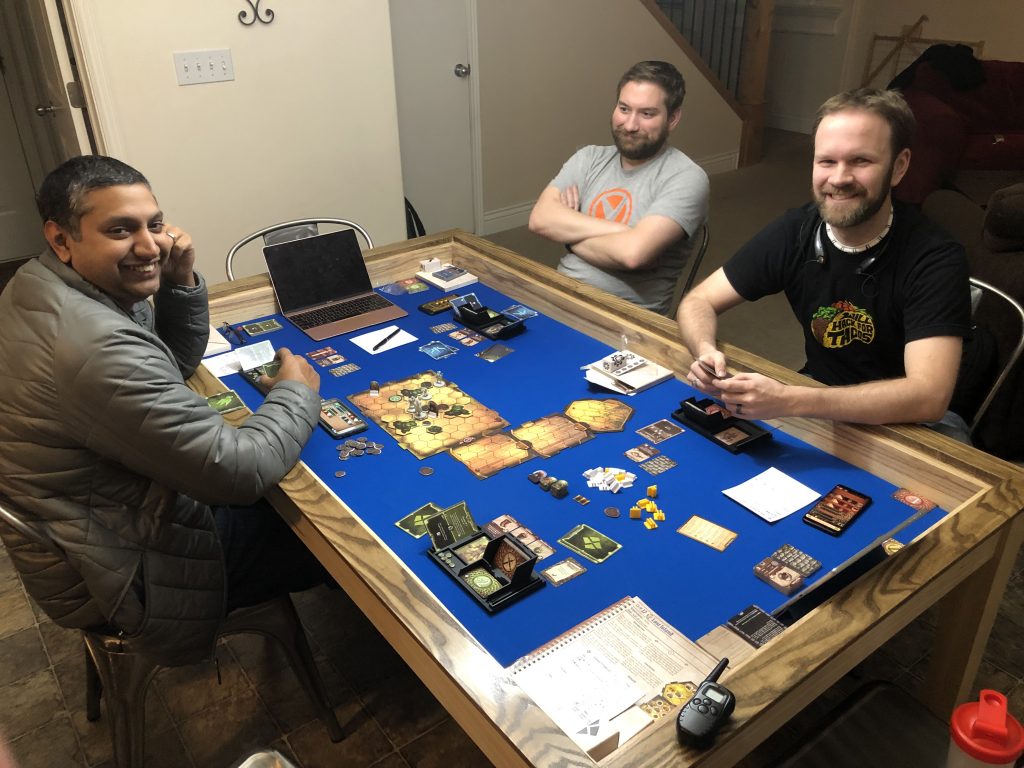
I also created a small little divider that could be inserted create a smaller playing surface while keeping one or two inserts in to keep drinks or snacks on if the full playing surface wasn’t needed.
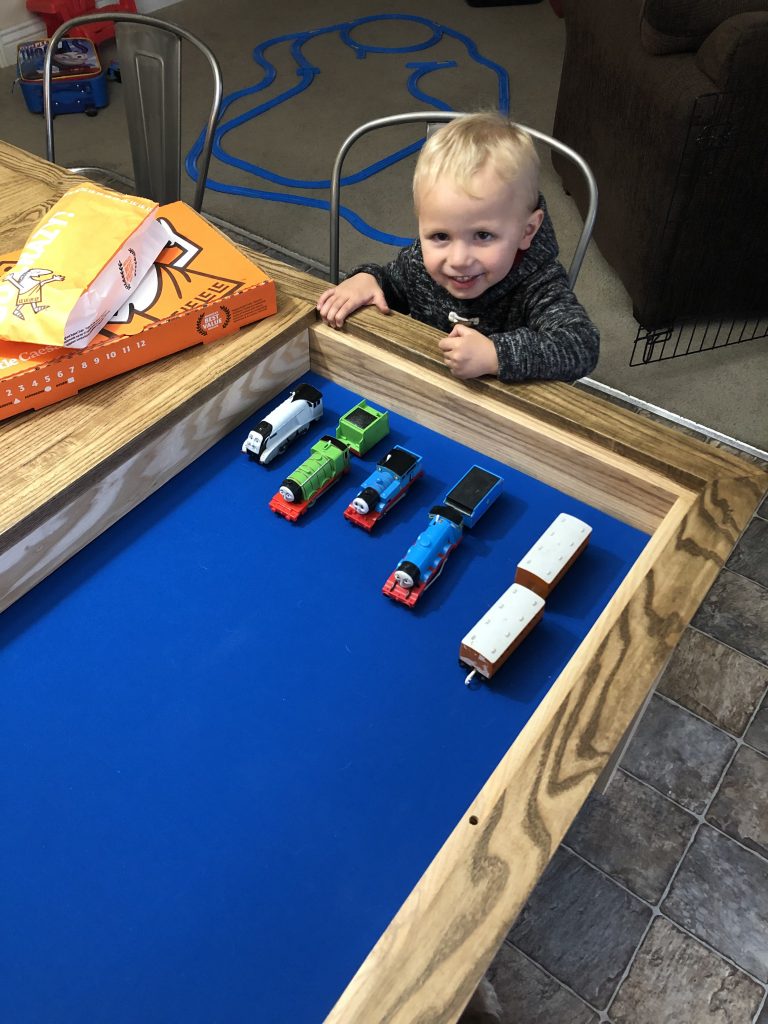

So, my first attempt at a major woodworking project turned out to be a pretty good success. This post sure makes it seem like the table went together in a weekend, but the truth is that it took about 6 weeks for my to put together. I think I ended up spending around $500 in material and other supplies. The table is extremely sturdy and has been used to play many games. I’m pretty happy with how it turned out and I’m excited to have it be a piece of furniture that can be used for years to come.